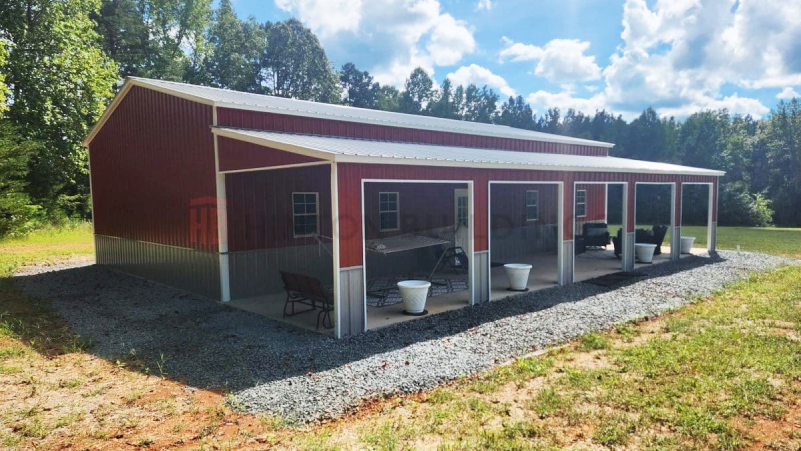

Are you looking for an easy and efficient way to increase the organizational capacity of your shed? Building shelves is one of the quickest and most cost-effective way to make the most of the space you have. Installing sturdy shelves in your shed is not as hard as it may seem, and a great DIY project for anyone looking to get organized. In this article, we’ll discuss how to build shelves in your shed step-by-step.
The first step in building shelves in your shed is to assess what kind of shelves you will need. For example, if you’re planning on storing large, heavy items, you will need to make sure to use sturdy boards that can withstand weight. Once you’ve determined the materials needed, you will want to measure the inside of your shed and calculate how much space you can use for your shelves.
When it comes to building shelves, it’s important to maximize the space you have. We suggest using a combination of vertical and horizontal shelves to get the most out of the storage space in your shed. Vertical shelves are great for storing tall items, like shovels or rakes, and horizontal shelves are the perfect place to keep smaller items that tend to get lost in the depths of your shed.
Once you have a plan for your shelves, it’s time to get to work! Begin by making sure your materials have all been cut to the proper size. You can do this by either cutting them yourself or having them cut at your local hardware store. Once your materials are ready, you’ll need to begin constructing the shelves. You can either use pre-made brackets or make your own. If you’re using pre-made brackets, it’s important to make sure they are the right size and securely fastened to the wall.
After your brackets are secured, it’s time to make sure that they are level. To do this, use a level and a tape measure to ensure that the walls are even. Once the walls are even, you can begin to install the boards. Start by drilling pilot holes and then attaching the boards with screws or nails. Make sure to measure and mark the location of the nails or screws before drilling pilot holes.
Installing shelves in your shed can be a great way to maximize space and get organized. By following this step-by-step guide, you’ll be able to build sturdy shelves that will last for years. Have fun and don’t forget to clean out the shed first! Once you’re done, you’ll have a clutter-free shed and a handy addition to it.

Copyrights © 2025 Hinton Buildings